The dream begins... page 1
The 737 project page 2
The 737 project page 3
The 737 project page 4
The 737 project page 5
The 737 project page 6
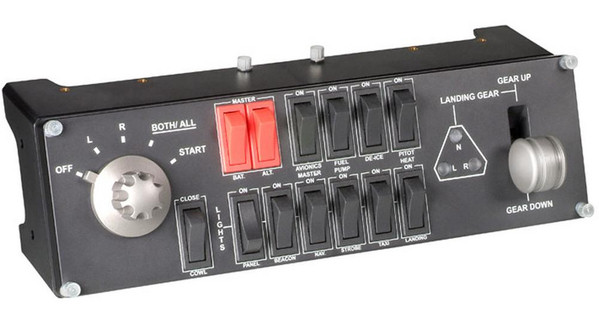
Saitek switches
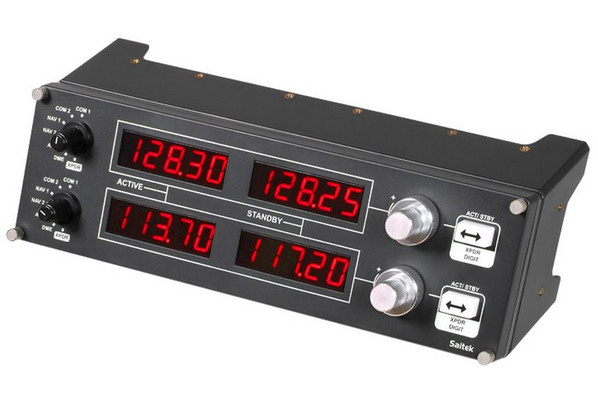
Saitek radio panel
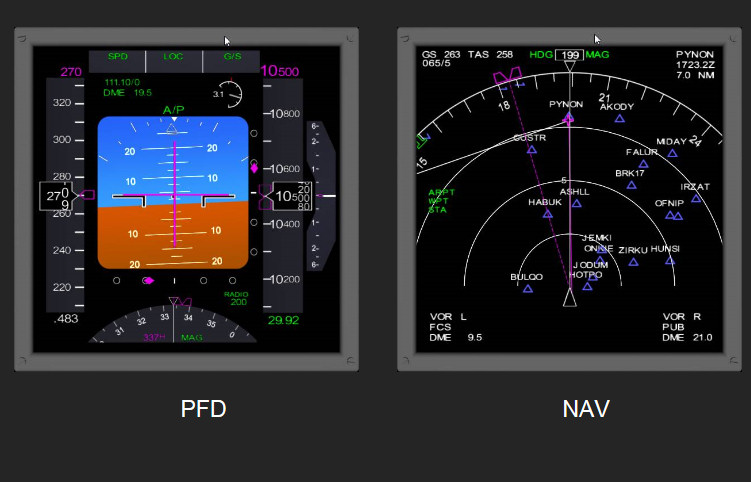
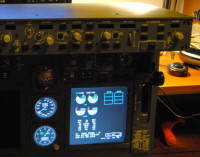
CRGSim suite
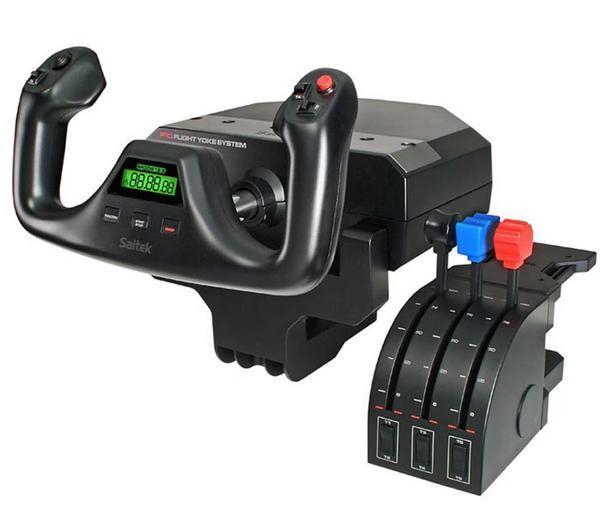
Saitek ProFlight Yoke
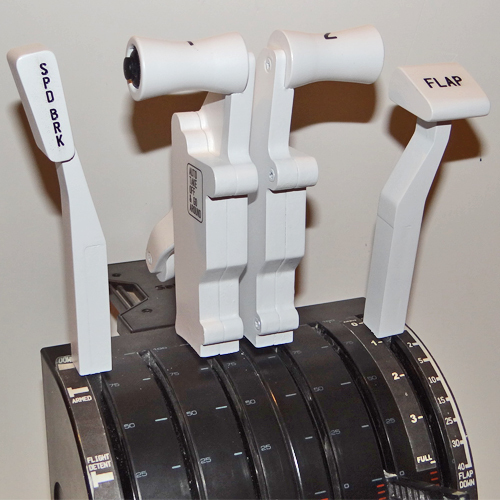
FlightsimPM throttle levers
BOEING 737 Home cockpit construction history - page 1

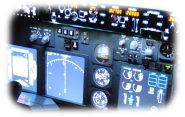
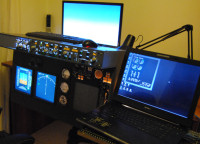
June 2013 - The dream_begins...
Yes this is the very first moment when I thought that having an hardware panel instead of the virtual cockpit in the fsx screen, would have been interesting and would have changed the feeling of controlling the airplane in a more realistic way.
But I soon realized that so many things had to be understood first....
The main questions were :
A) what software could I use for connecting the secondary PC to fsx and display the gauges ?
B) what hardware is available for interacting with fsx ?
C) how much should I spend - and how much will I accept to spend for this ?
The answers were not so simple, since when you start searching on the net you are overwhelmed by a huge amount of information, so confusing, and so many different possible choices...
So the first 3 things to do are :
SEARCH, STUDY, SELECT !!!
But some indications are soon emerging from the clouds.
First thing to understand :
GOOD THINGS ARE EXPENSIVE!
It is not completely true; fortunately you can find beautiful programs for free and also hardware for few euros, but in general, if you want high quality, ready to plug in, well supported and stable components, be prepared to pay many hundreds or even thousands of euros for each component.
So if you accept to pay, let say 4000 euros or more for a plug and play, completely mounted and tested overhead, or 600 euros for a software suite as Prosim, you can buy all the best components and solve 99% of your needs in few weeks.
The total cost of the cockpit could easily reach 20000 or even 30000 euros (without the cockpit shell).
But if you plan to spend 1500-2000 euros for the whole thing, for sure you must consider a lot of other possibilities, none of which will ensure you the complete solution, but at the end almost everything can be achieved by the joint combination of a lot of parts.
I chose this second way for my cockpit.
So, now is time to start working seriously on the project; the first question (A) has many answers, but after a wide search and selection on the net I decided to buy FSUIPC an WIDEFS (I mean the registered version of both).
This is just a basic step that allows you to have a bridge between FSX variables and the external world, even without any programming skill.
I warmly suggest to consider fsuipc as an essential part of the simulator, even if some solutions can work without it, but it can do so many useful things that in any case it is worth to buy.
But this is only the core interface. What is available for the gauges ? Well, many things.
As I said, if you decide to build a 737 cockpit, PROSIM is probably the best : handles almost all kind of hardware and ALL (I mean ALL) switches, knobs, rotary encoder, servo motors for gauges, led warning lights, radios, overhead.... TERRIFIC suite, really worth some money (but to me 600 euros is too much for NON COMMERCIAL applications).
Another problem was that PROSIM is exclusively dedicated to 737, so if you are looking for flexibility well, that's not for you (and for me).
So after a long search i found this wonderful FREE software by Kapock Cavanaugh : CRGSIM http://www.crgsim.com/Code/
It is really a great solution for starting with, and it can be easily interfced with all fsx aircraft, even single engine props! (you will see only glass cockpit display and not analogic gauges, but perfectly working with all fsx planes), but I will come back on this software more deeply in the next pages.
Another essential step is to decide what kind of cockpit you want :
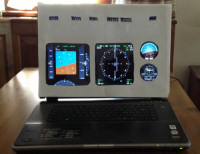
In this first stage I was far from thinking about a 737 cockpit, I simply wanted a generic panel and a few controls, and I imagined a basic layout, with a laptop PC, a reasonable MCP, and a switch panel.
So, as a very basic draft project I identified these components :
- Fsuipc and WideFS registered version : http://www.schiratti.com/dowson.html
- CRGsim glass cockpit suite (free) : http://www.crgsim.com/Code/
- Goflight MCP module : http://www.goflightinc.com/
- Saitek switch panel : http://www.saitek.com/uk/prod/switch.html
- Saitek ProFlight Yoke with throttle quadrant
- Saitek throttle quadrant (additional one)
- FlightsimPM 737 throttles lever : http://www.flightsimpm.com/
- Saitek radio panel
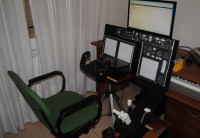
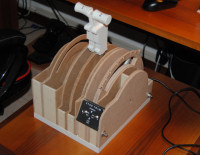
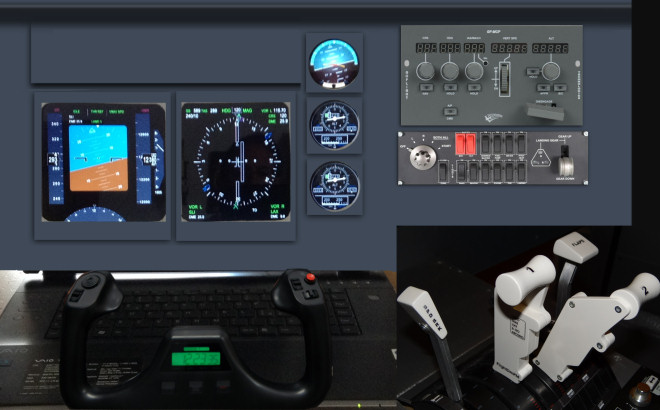
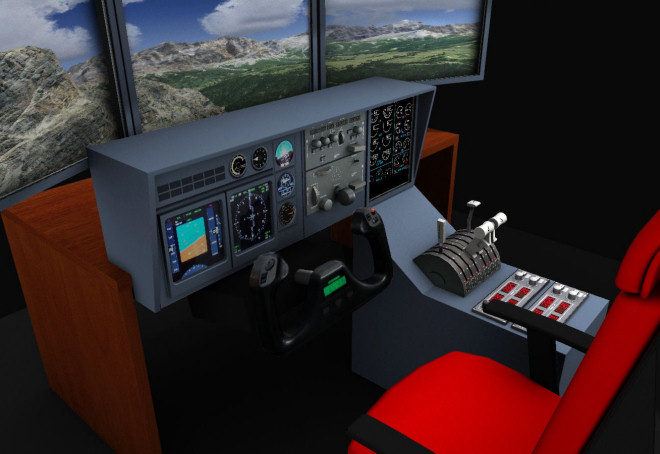
Here is a rendering of the cockpit as initially designed. The targets were : cost below 1000 euros, no programming required, table-mount system, removable panel box for cabinet storage when not in use. Material : MDF panels with wooden or aluminium structure.
Saitek is the real affordable choice for complete panel line (NOT 737 style but functional and plug-and-play), I bought a switch panel, a radio panel, rudder pedals, the yoke with throttles quadrant and a secondary throttle quadrant for 6 levers in total, useful for a complete TQ with speedbrake, 2 engines throttles, flap lever.
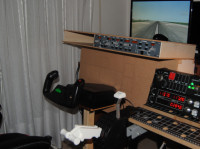
They could be good for a small prop plane, but for an airliner style I decided to add FLIGHTSIM PM levers, now you can find version 4, mine were version 1...
Here is how the lever look like when mounted on 2 Saitek TQ linked together side by side.
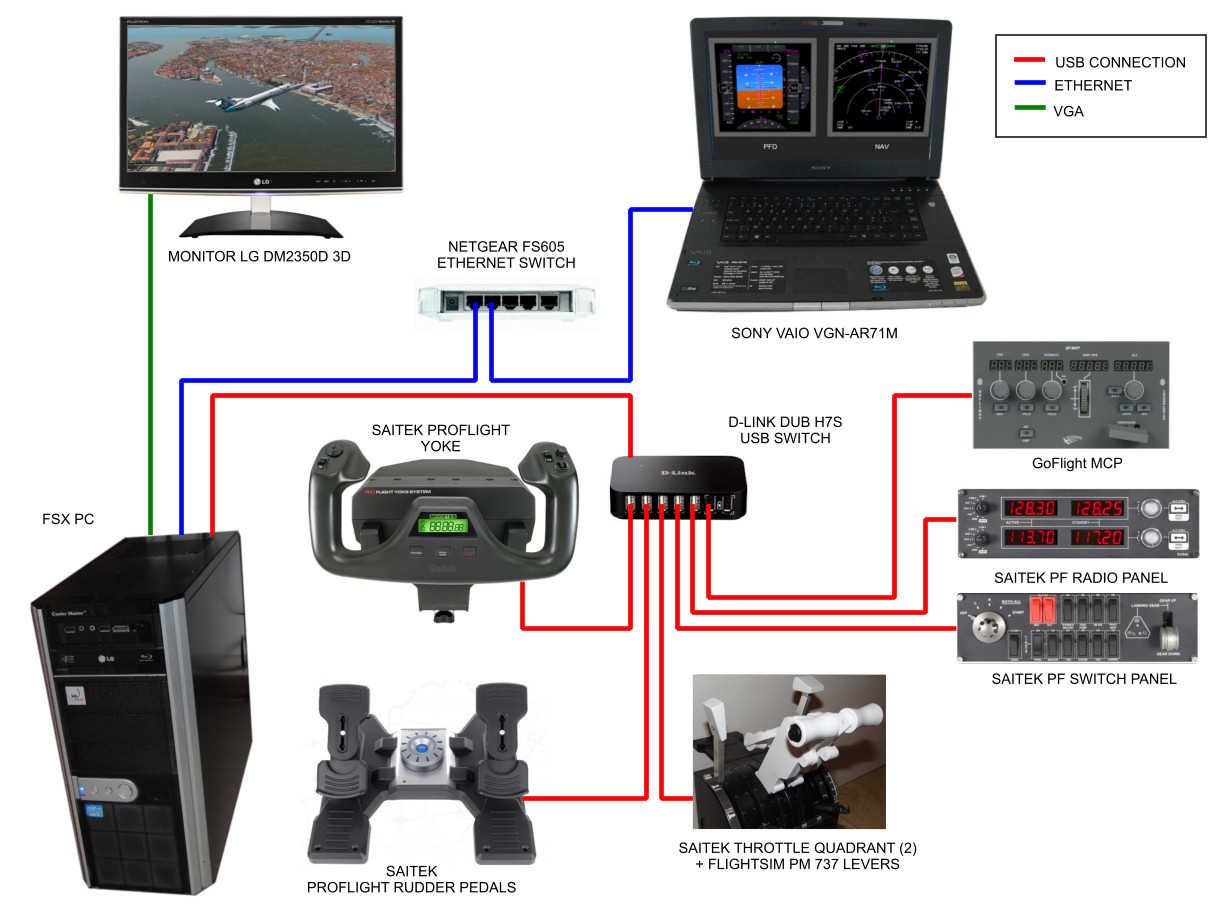
And this is the project scheme, even if at this stage it is quite simple and probably obvious, but I enclose it as a first step
of the connections diagram that will be more complex in the next phases.
Initially I planned to buy the GoFlight MCP that was less expensive than other products but looked quite complete and beyond of that all
GoFlight line looked really serious and reliable, and also the compact size of the module was interesting.
But I didn't buy it because in the meanwhile I changed my mind about the project (I moved to the 737 concept) and on the other side,
GoFlight seems to have discontinued this product, that is a pity since a generic module would be useful for custom panels.
As I discovered later, in any case I would need an EFIS module, that is essential to change the NAV display mode, map scale range,
map item displayed, etc.