BOEING 737 overhead panel construction - page 1
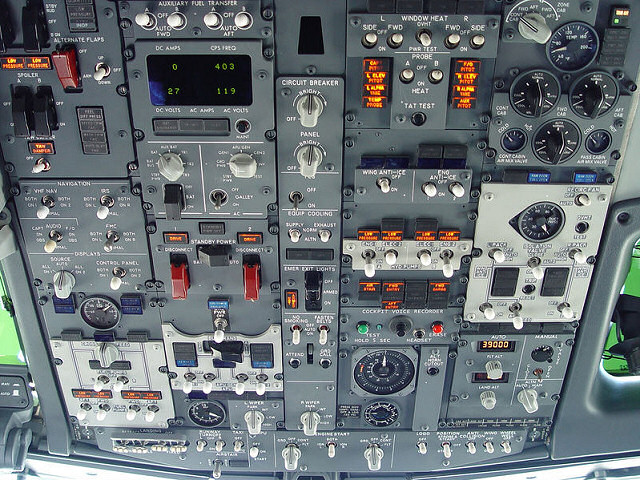
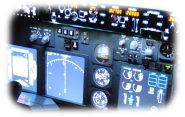
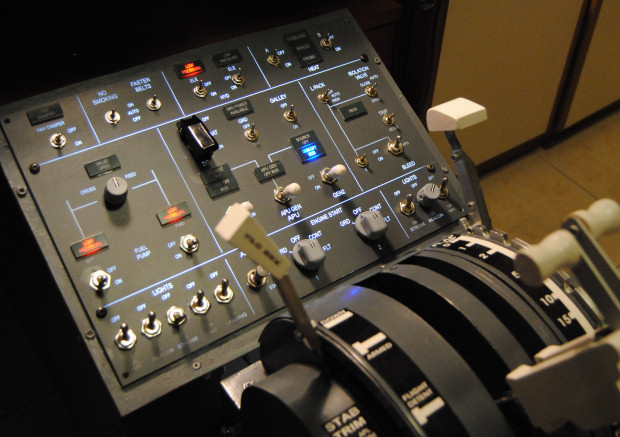
The real Boeing 737 overhead panel
The 737 overhead panel is a very complex part that requires a lot of components, both as subpanles and as hardware (switches, knobs, leds) and control boards.
One immediate issue that you face if you don't have a full cockpit structure, is that the overhead panel can't be positioned without a holding structure. This question
stopped me from even trying to include the overhead within my projects for a long time.
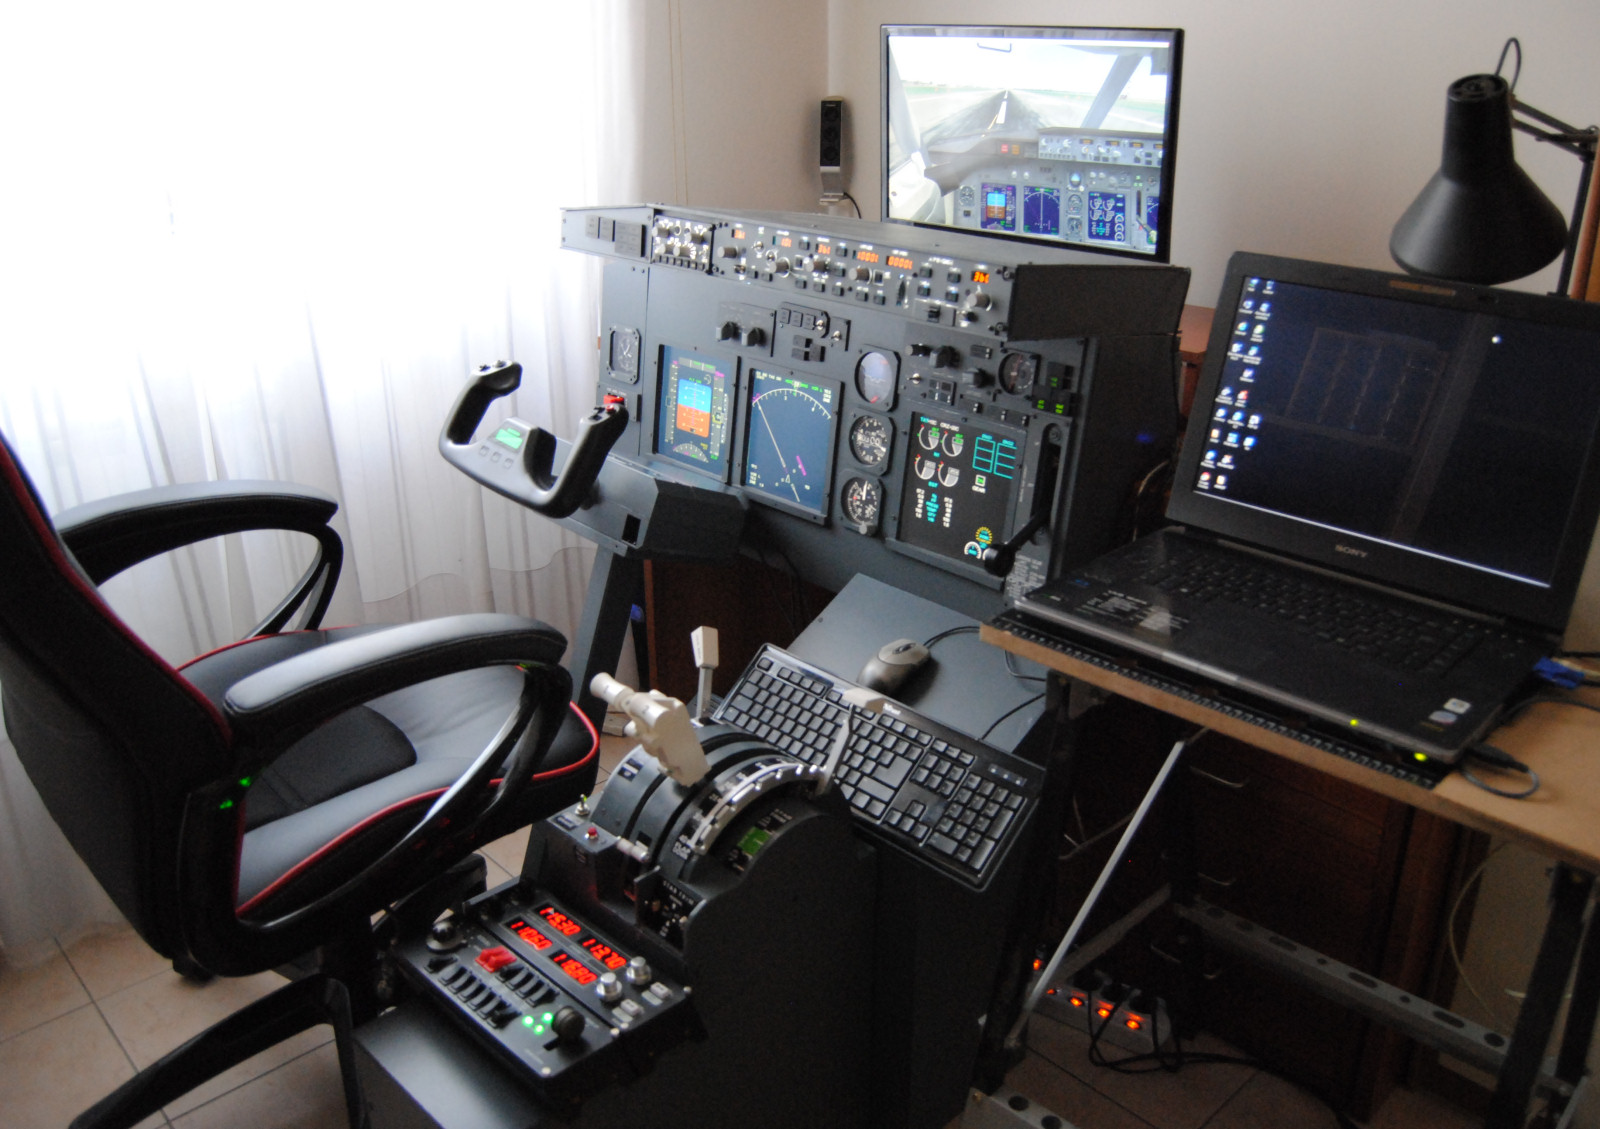
The first attempt I made was to build a panel with some of the overhead controls between the MIP and the throttles quadrant (where the FMC/CDU and MFD should be).
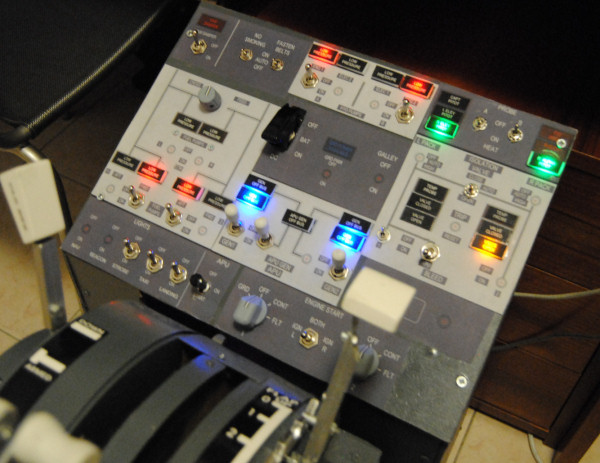
A custom "overhead" panel on the FMC pedestal.
I made the panel with a simple MDF base with an A3 colour printed paper using a drawing made with XARA 5.
At this stage the annunciators were just some leds inserted in the middle of the print of the annunciator tag.
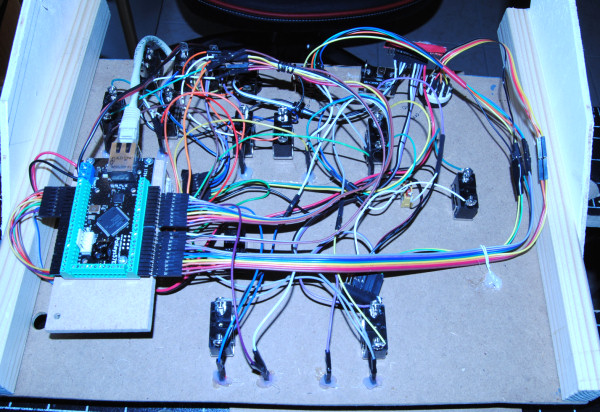
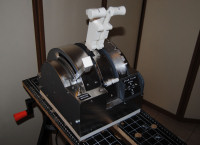
For driving the controls I used a Pokeys 57E. The wiring was not very tidy and professional looking...
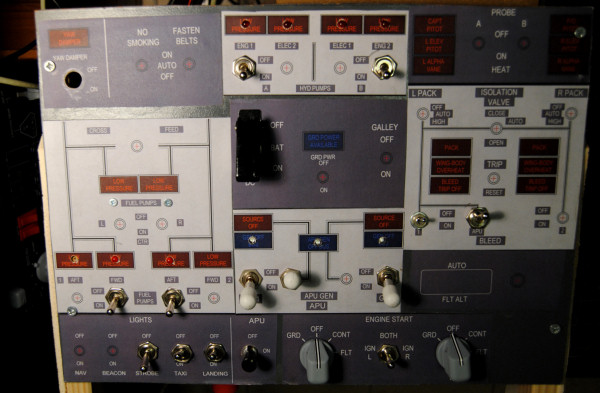
Cutting out the print of the annunciators and glueing it on small rectangles of white plexiglass, the overhall result was not that bad,
but in a dark situation I couldn't read the signs of the switches...
I decided to ask to a friend of mine to laser-cut for me the text on a plexiglass panel painted in RAL7011 color.
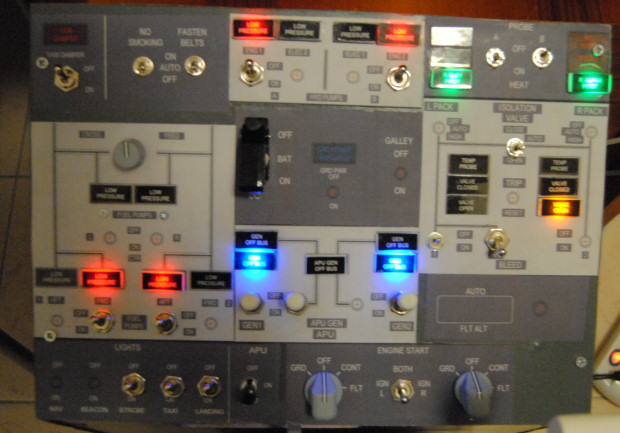
The "mark II" version of the overhead - made in white plexiglass painted in RAL7011 an laser engraved (thanks Fabrizio and Checco!).
The effect seems a lot better...
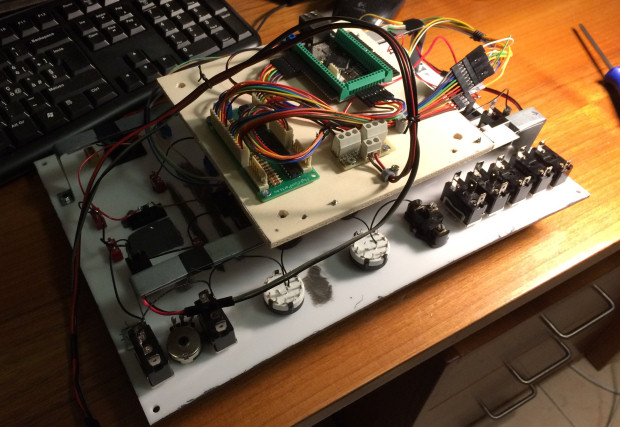
Also the wiring has been studied a lot and looks more tidy and efficient.
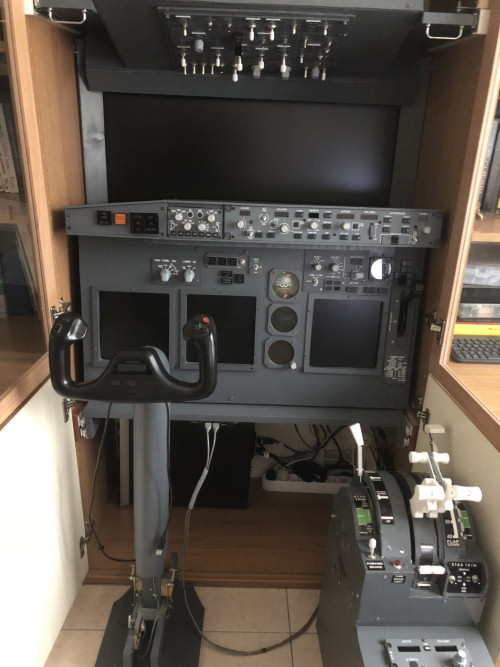
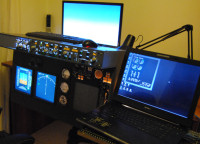
The big step forward... fitting the cockpit inside a closet!
The new closet layout in dark environment. Finally a decent monitor - the LG34WK650, a 34" 21/9 ultrawide monitor.
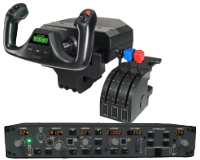
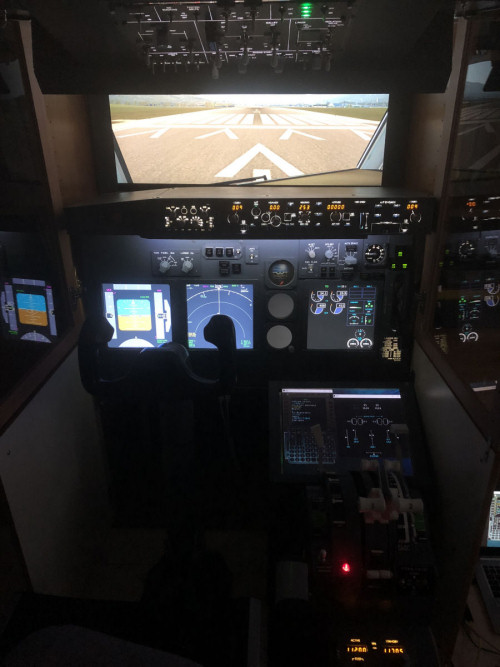
But now is time to step forward with a new, more realistic overhead...
After long search I choose the FlightsimPM custom overhead.