BOEING 737 Yoke column construction - page 2
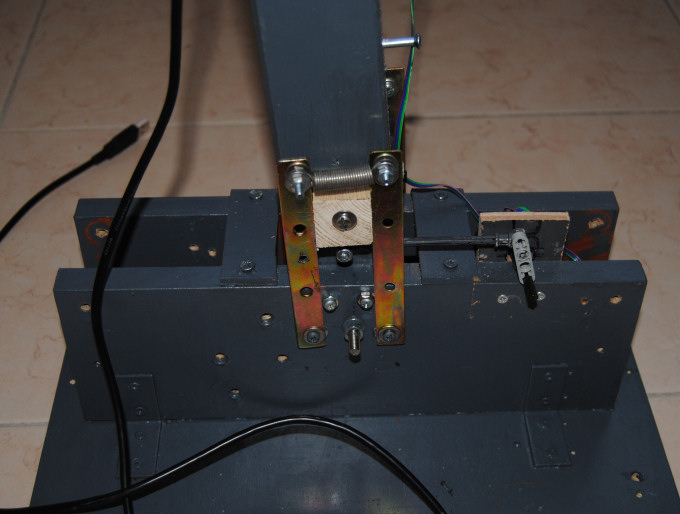
The next design solution was far more efficient and effective! Smaller springs, but the mechanical parts
make the springs to work only on the side where the balancing force is required, while the other side remains unloaded.
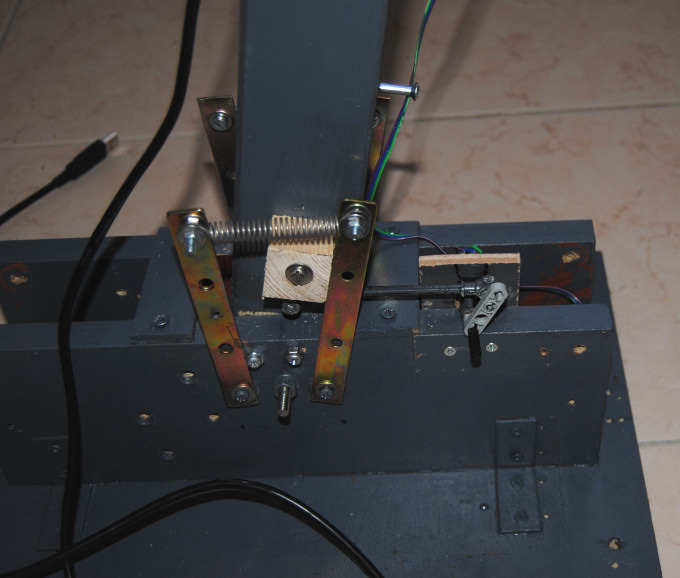
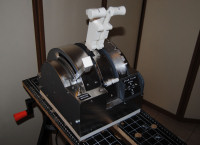
A couple of beams follow the rotation of the column tensioning the spring in one direction, but are blocked by a stopping bolt when the column is rotated on the opposite direction. This solution results in a perfectly calibrated neutral position, well balanced but not so strongly to make a discontinuous movement of the column when passing through the central position, as it happened with original Saitek yoke mechanism.

The column rotation system with spring loading mechanism and potentiometer connection for Y axis.
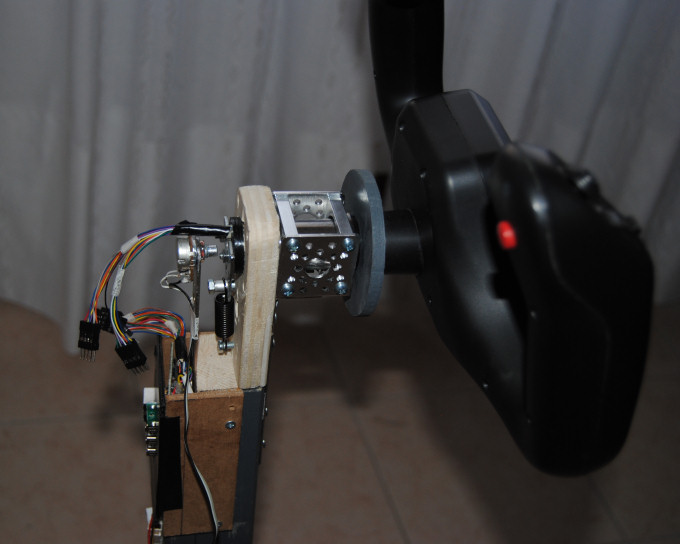
The next step was to replace the wooden support with a brilliant and effective bearing system that I bought from Servo City (http://www.servocity.com/) where you can find all sort of mechanical parts as channels, bearings, gears, etc.
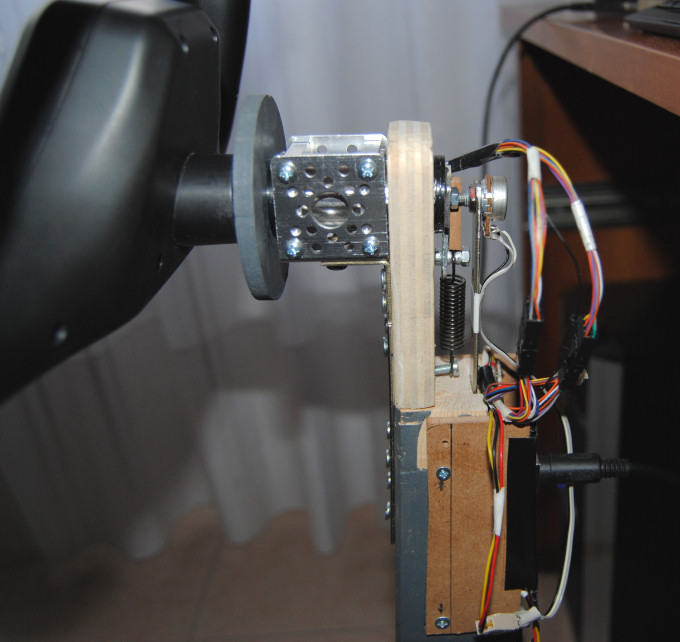
The ServoCity aluminium channel and bearing system.
The channel is screwed to a wooden beam that can be bolted to the top of the column after the elbow has been inserted in the plastic curved pipe.
The metallic beams in the lower part of the wooden beam of the elbow are long enaugh to be accessible below the plastic 90° bend cover.
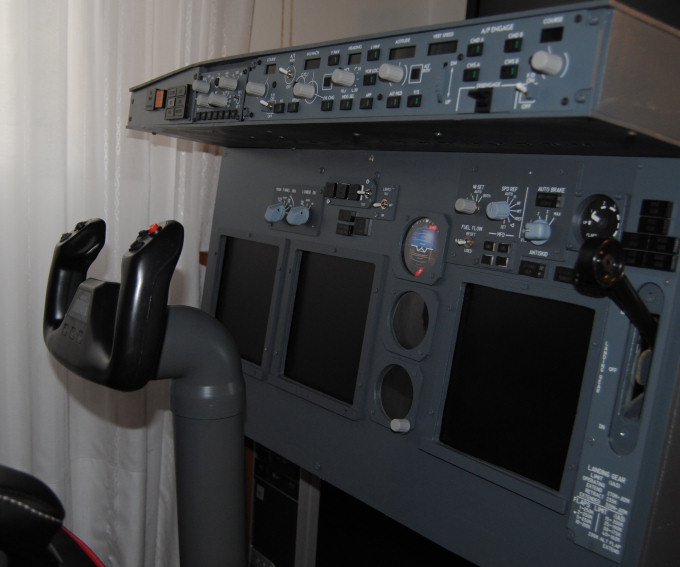
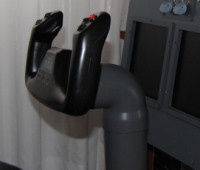
The final result: a perfectly working yoke column!
Now is time for calibration and tests of the control, using control panel devices configuration and calibration.


Last but not least, I bought this crimping tool and a whole pack of DUPONT male and female plugs from AliExpress
(http://it.aliexpress.com/), very cheap but effective and easy solution to connect
2 groups of 8 very thin cables each without soldering.
The male/female jumpers are needed after you insert the yoke on the top of the column to connect the yoke controls
to the Saitek board. Of course you could replace the Saitek USB board with a POKEYS 56U that can simulate a joystick
with a greater analogic input accuracy with 10KOhms potentiometers, and can handle all inputs from the yoke buttons.
