

Home Cockpit index page
Constuction history
Components
Displays and gauges
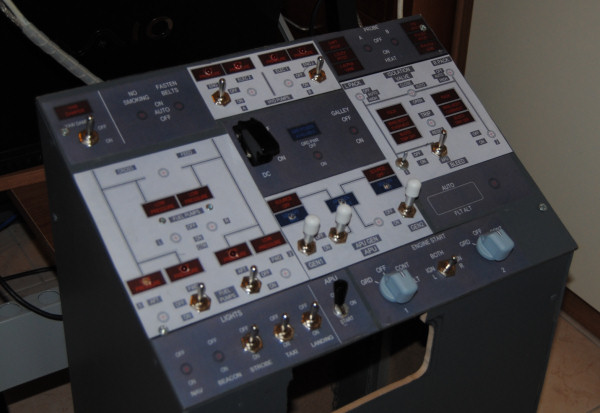
Main Panel
Glareshield
Throttle Quadrant
Boeing 737 home cockpit building NEWS
2014
DECEMBER
Moving to X-PLANE !
After so many years of FSX passion... I decided to test again X-Planes, that I bought, installed and used a lot when CRJ-200 was published. JRollon CRJ is a must-have plane, and the tutorials are great. But I couldn't believe that it would be possible to convert my home-cockpit to work with X-Planes. Besides of that, I was still sure that FSX was THE Flight Simulator, for many reasons, and first of all for the beautiful structure of SDK and modelling tools, while X-Plane was powerful but very complicated to manage (animations are just painful to make in X-Planes, and the datarefs are totally confusing...).
But now I tried, and I soon discovered that now are available many tools (plugins) that allow you to configure a lot of parts without many problems. I will describe them in detail in a new section of my site.
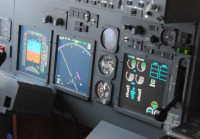
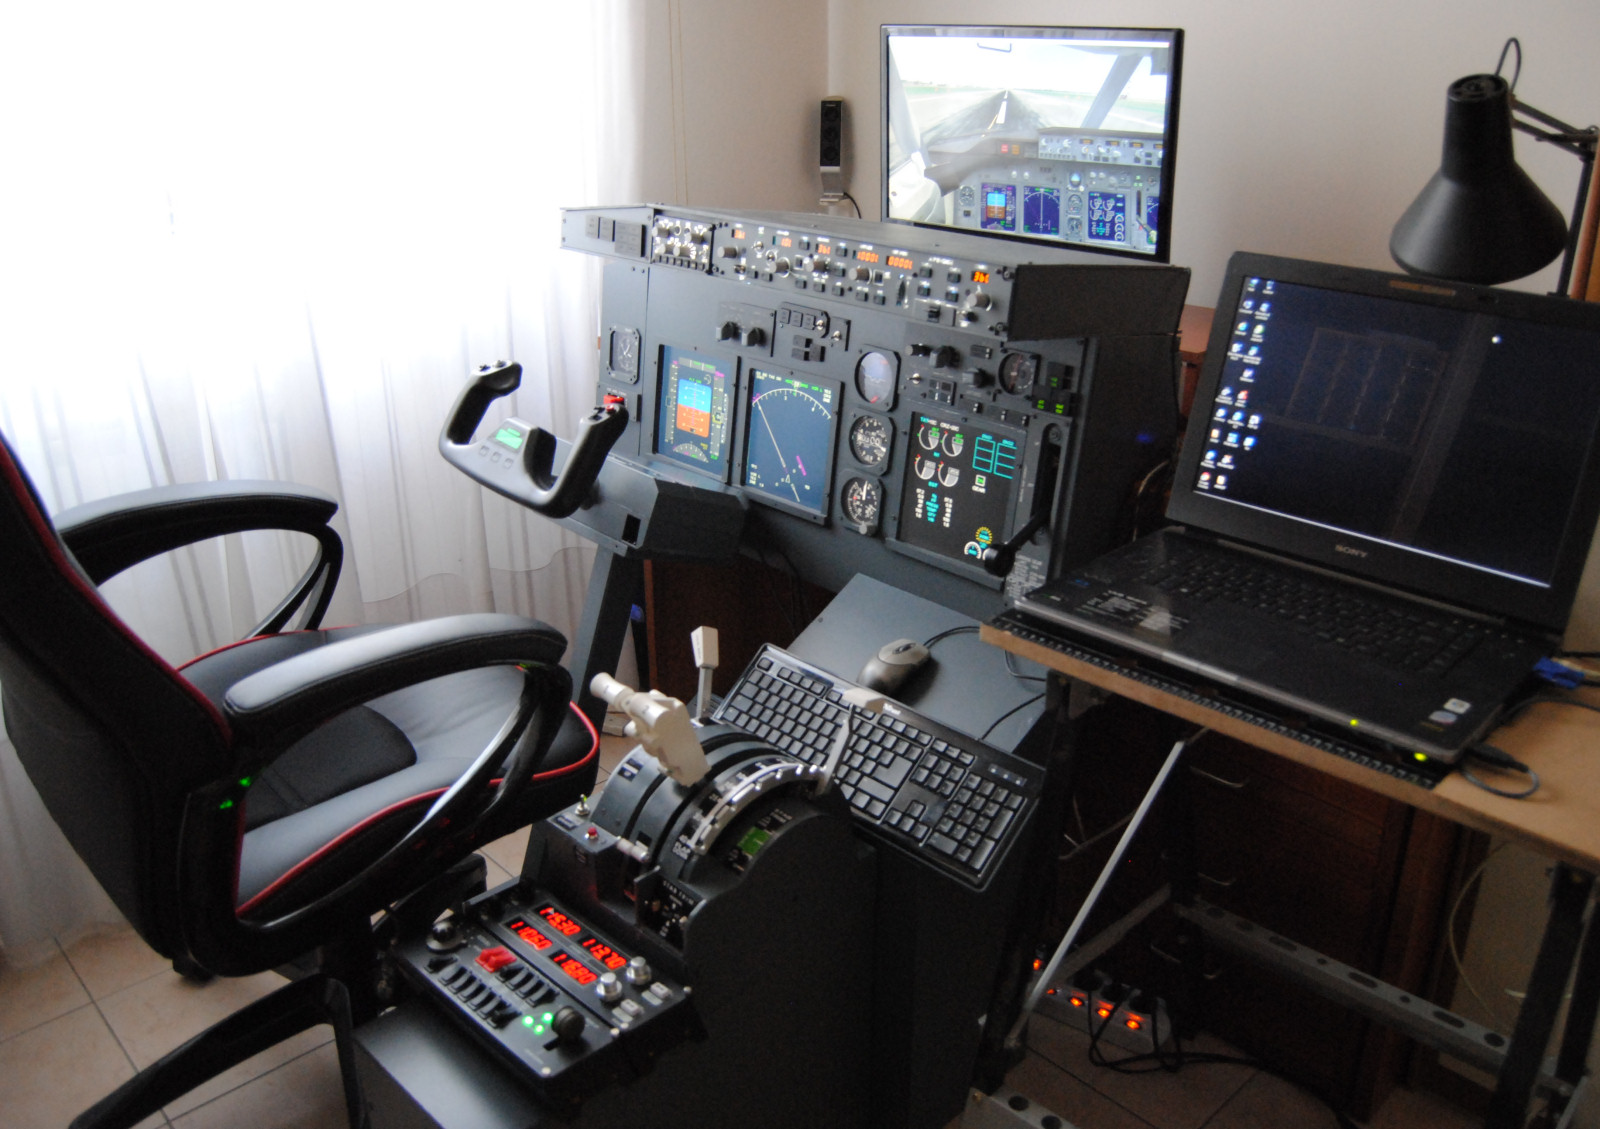
As you can see from this image, by now I have the PFD, MFD and EICAs, MCP, EFIS, gear lever, throttle quadrant, autobrakes, flaps gauge and indicators working! Not bad after only a few days, and a lot of surfing, downloading, installing and configuring plugins. But many guys did a great (and free) job, making available wonderful tools.
And X-Plane is... just GREAT! It probably has all the functions needed to configure all the controls, without using expensive suites as Prosim or other programs to simulate functions that are built-in in X-Plane 10.3. And also the graphic is stunning.

NOVEMBER
First overhead test panel
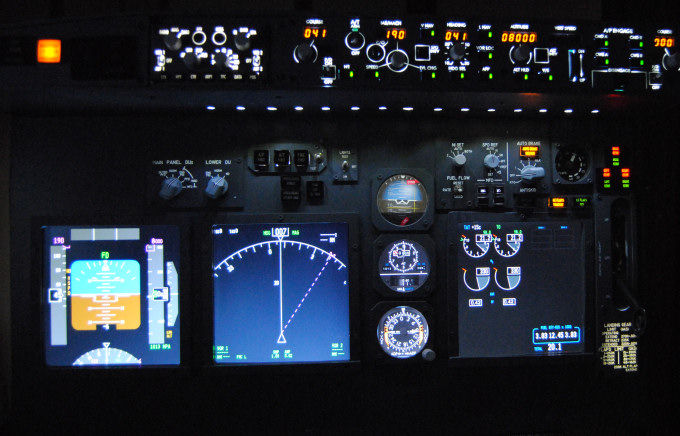
Since my main target is to keep the cockpit dismantable, the overhead structure is something very difficult to design (I am planning to have it coming out from a cabinet over my desk) and so for now I decided to make a test overhead panel using the consolle (where the FMS and lower EICAS should be). The principal functions have been activated, and I can simulate an almost complete procedure from cold-and-dark situation to up and ready 737.
The panel is based on a new Pokeys 57E card, connected through an ethernet switch and powered by a secondary 5V plug derived from my Opencockpits power supply in the pedestal base.
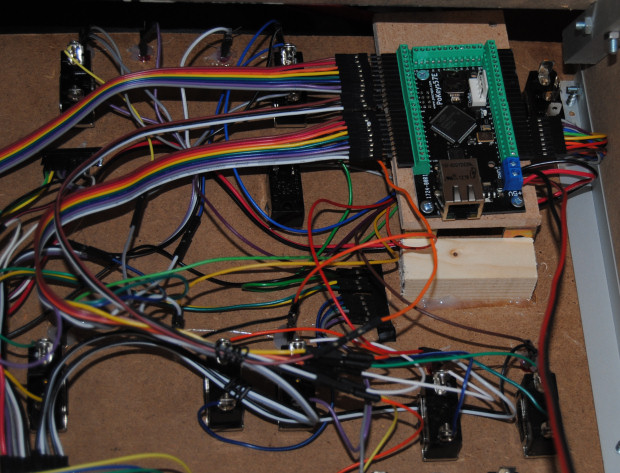
Yes I do admit, I did not take enough care of the cable paths, it looks quite caothic, but the idea was just to have a quick test...
One remarkable thing is that using Dupont connectors for all the wires, I can easily remove every single component without soldering anything, and also the connections to the Pokeys pins are made using a male/male pin coming out of the Pokeys board ready for a female connector on the wires.
I mounted a LED extension board right below the Pokeys, this way I have the digital inputs on one side and the digital outputs on the other side.
OCTOBER
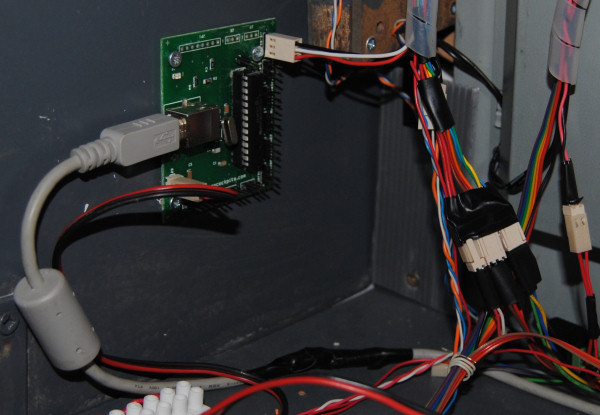
Throttle quadrant hardware moved to POKEYS 56U
The Saitek throttle quadrant board was removed from the trhottles quadrant and replaced by a new POKEYS 56U board. All controls have been rewired and connected to the Pokeys by DUPONT jumpers in order to maintain a complete dismantability of the device.
The Pokeys was then configured assigning digital inputs to parking brake lever, speedbrake lever, thrust reversers 1 and 2, fuel cutoff valves 1 and 2 and stab trim switches 1 and 2.
One pin has been set as digital output for parking brake light, and 3 analog inputs where configured for X and Y axis (Throttles 1 and 2) and flap lever. All the functions have been reprogrammed using normal joystick assignements in FSX configuration menu and using FSUIPC buttons programming utility.
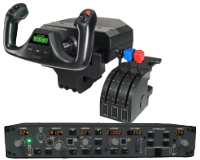
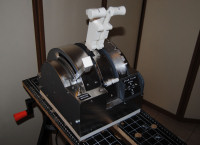
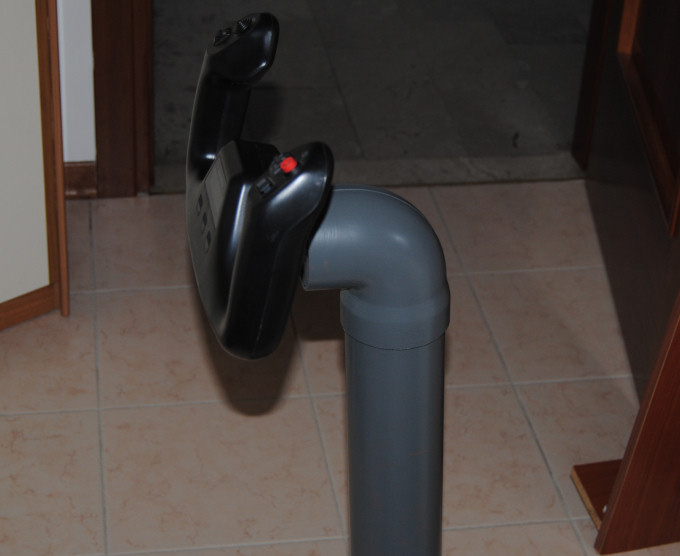
Saitek yoke transformed in a column yoke
The Saitek yoke was removed from its plastic box, the axle was cut by a Dremel steel cutting disk, and reassembled on the top of a column, much more faithful to the real Boeing 737 control yoke.
New OpenCockpits USB servo board installed for gauges servo motors
The OpenCockpits USB servo board can control 6 servos and also 3 analog axes, and can be configured and controlled via SIOC code, that is a great advantage and allow also an easy and accurate control under PROSIM suite.
SEPTEMBER
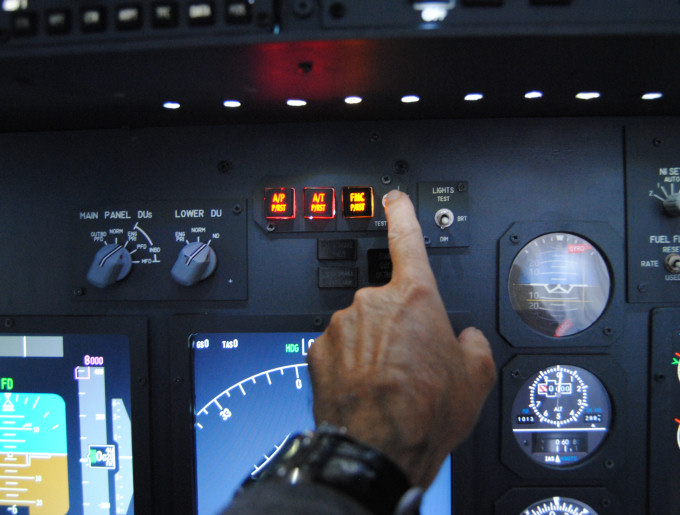
Self made AFDS panel activated
The dummy AFDS panel has been replaced by a fully working, self made AFDS panel with 3 RAFI 19H tactile switch from HISPAPANELS, connected to the main POKEYS 56E of the MIP. The buttons can easily be fitted with 2 different color LEDs (one amber for warning and one red for caution) and using 3 digital inputs for A/P reset, A/T reset and FMC reset, and 6 digital outputs for A/P, A/T and FMC warning/caution, plus 2 digital inputs for test 1 and 2 mode switch, all functions have been simulated and are now working properly.
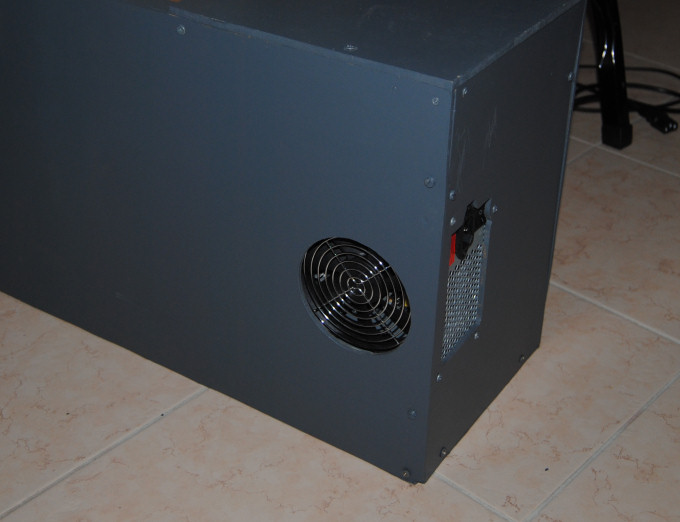
New OpenCockpits power supply installed in pedestal base
The OpenCockpits power supply has been integrated with the pedestal / Throttles base to replace all previous small power supplies (1A or less) for 12V MIP backlighting, Pokeys 5V and 3.3V power supply, Opencockpits MCP and EFIS, servo board power supply, etc.
Specifications:
* Input 220V AC.
* Output1 +3.3V DC, up to 5 Amps.
* Output1 +5V DC, up to 20 Amps.
* Output2 +12V DC, up to 20 Amps.
* Total power up to 500W.
* Stabilized outputs.
JANUARY
A new POKEYS 57E and one POKEYS 56U plus led expansion card and cable have been ordered and now they are available. I will start testing new functions for overhead controls, using mostly SIOC ad interface and programming tool. SIOC vars are very powerful, and FSSymphony can link a SIOC var to pin input and output.