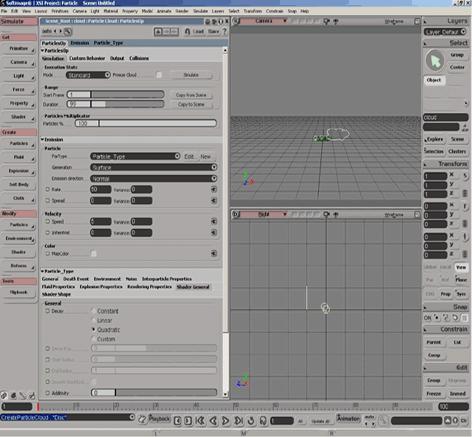
In this tutorial you'll learn how to create a simple smoke with XSI particles. I haven't used the explosion shader to reduce the rendering time, in fact this smoke renders very fast.
Step 1
Press 4 to change to the Simulate Toolbar.
Create>Particle>From Disc

Lock the PPG

Set your camera view to "textured."
Textured view will allow you to see the particle shape and transparency in real time.
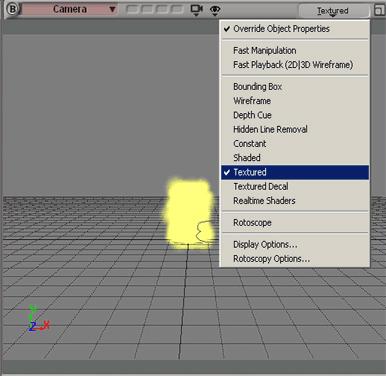
Now we are going to change the Background color for better visibility of our particles.
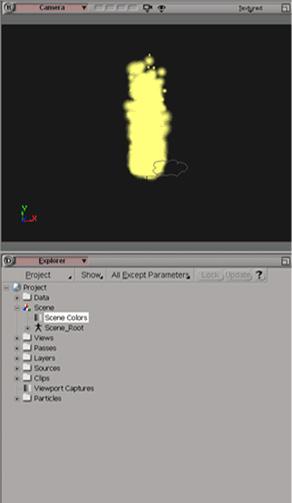
Open an explorer and press P (Project)
Find the "scene folder," open it and double click on "scene colors."
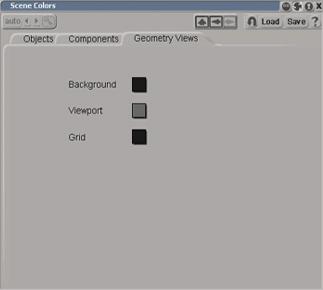
Here you can see the Viewport/Grid/Background Colors.
Drag and Drop the grid color on the background color.... or simply double click on Background color and select a color.
Step 2
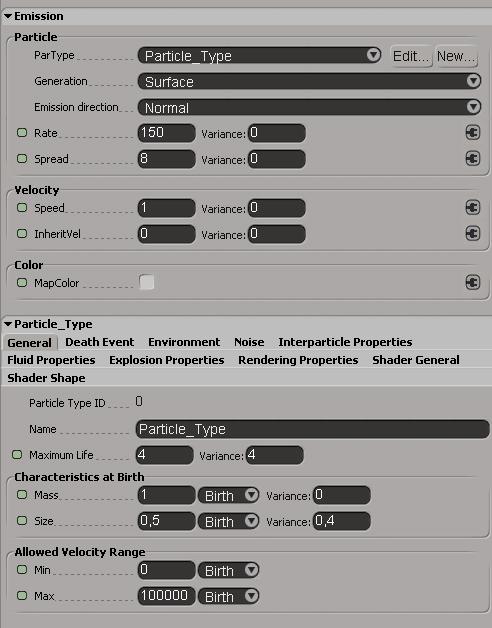
Increase the rate to 150\200
Set the Spread to 8 or 9
Decrease the speed to 1 or 1.5
Now, go to the Particles general tab and set Max Life to 4 with a variance of 4.
Set Size to 0.5 with a variance of 0.5
Add some noise. Like 0.01 for all parameters.
STEP 3
Rendering properties.
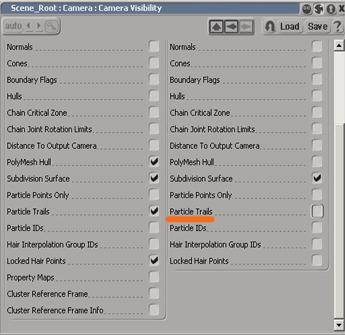
First of all, click on the eye icon on the Camera Viewport and select "visibility options"
Click on "Attributes" and uncheck the Particle Trails
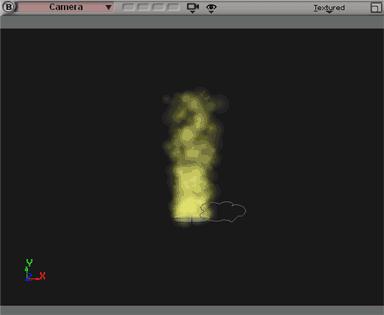
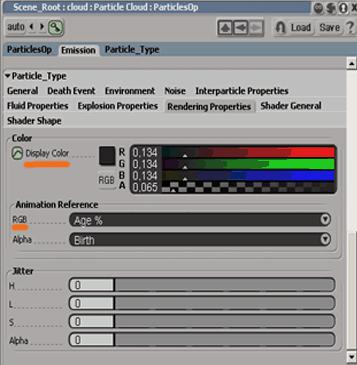
Go back to your particles property page and, in the rendering options, set the alpha slider to 0.065 and press play for Refresh.
You can see that with the Alpha slider we can increase\decrease the transparency
Now we are going to animate the particles color in time
Select Age% in Animation References RGB
Go to frame 1 and set the colors slider to 0.8 and save a key
After 60 or 70 frames, set the colors slider to 0.15 or 0.2 and save another key
Now press play and see how your smoke looks
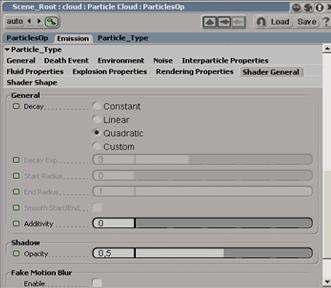
You can change the shader shape if you want
I've used Quadratic but custom shape works well too
Hope you can see that there is little difference between the rendered particle and the real time particle
So, if you don't want to wait for rendering time, use start>capture....
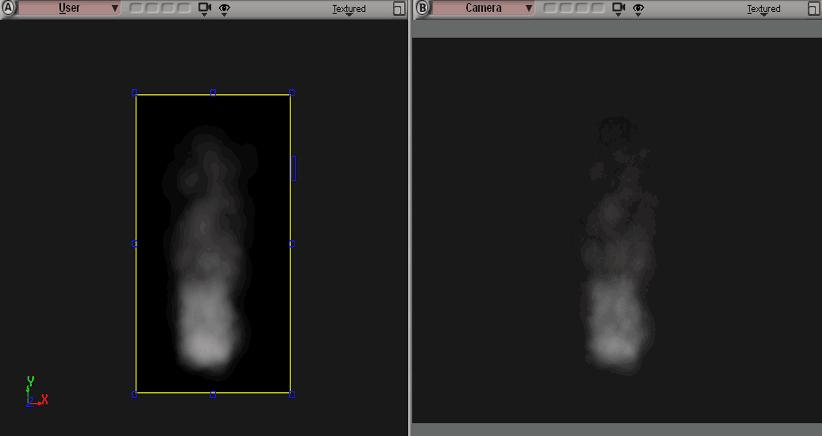
Try to modify the parameters of this simple smoke to get different results
Enjoy,