| MD-11 Japan Airlines "J Bird" |
Hasegawa 1/200
Pictures by Massimo Ginesi
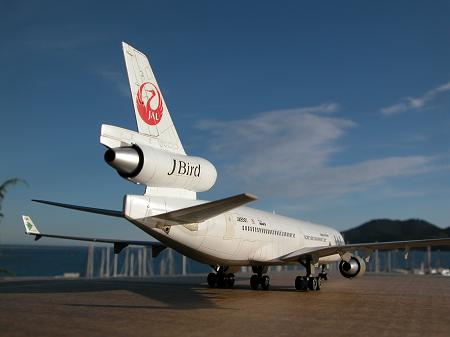
The kit
A good kit from Hasegawa and an appealing livery. The fit parts is good, almost no putty was required. The only flaws are a low detail on gear legs and the ugly junction line between the halves of engine nacelles, which needs to be carefully hidden. Some details such as the wheel wells doors and VHF blade antennae will look better if cut away from the fuselage and made by scratch from sheet styrene. Passenger windows are in the form of holes in the fuselage halves even though Hasegawa gives the option of decal windows, in case you wish to fill the holes with putty, sand everything smooth then apply the decal windows. Between the two ways I opted for... the third! I used a styrene strip glued on the inner side of the fuselage to close the windows and later, after painting and decalling, applied some Micro Crystal Clear to simulate the glasses.
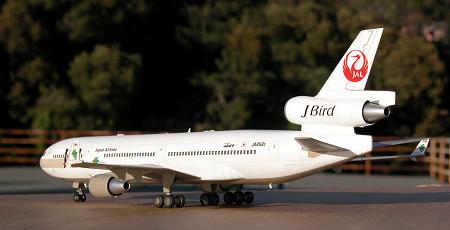
I started from the fuselage halves gluing the strips to close the windows as said above, then painted the inner side of the windshield dark grey and proceeded as per the instructions. Great care was needed to get rid of the join line, a tedious work that I personally hate, I usually stop when I'm bored enough, never when the join line has disappeared. This time I tried to make courage and completed the process with a full success... phew!
Meanwhile I was preparing the engine nacelles, painted with several shades of metallic paint and washed where appropriate with Tamiya X-19 Smoke. The exhaust nozzles were painted with Model Master 1401 and carefully polished with a soft cloth. A mixture of Tamiya putty and Tamiya liquid cement (green cap) was brushed on the nacelle's join line then sanded once dry. Several further layers of Gunze Mr.Surfacer 500 helped me to hide the joint, even though it is partly still visible. I decided I can live with it and went further.
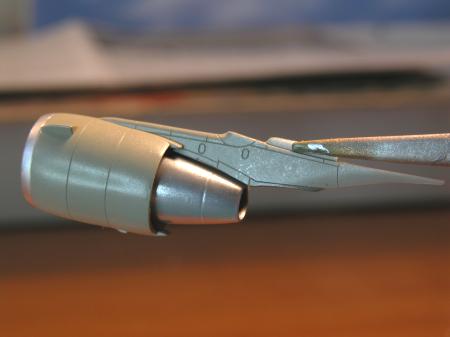 |
| An engine nacelle before assembly and panel line enhancement |
|---|
The tail engine nacelle received a couple of plasticard strips to hide the joint, then everything was puttied, sanded, painted and washed.
 |
| The tail is awaiting subtle weathering |
|---|
I understand that hiding the join lines would be easier if you assemble the nacelles before painting them, but I wanted different metal shades inside, so I had to paint the parts before. Next time I will ignore the silly voice that tells me to paint everything before, it's better a perfect nacelle with few colours than a multishaded less-than-perfect one.
I elected to paint the wings before assembly (another mistake?) because of the several masking steps required to achieve the paint scheme. The wings were painted light grey, masked with Tamiya tape then received a coat of dark grey. When everything was dry I sprayed several coats of Future to get a suitable ground for the decals. The Hinomaru on top of the right wing was painted using a mask cut from Frisket.
 |
| The fuselage just after decal pose |
|---|
The fuselage received many (eight? ten?) coats of Gunze acrylic gloss white, the last one mixed with a drop of blue just to prevent yellowing. Here again, several coats of Future sealed forever the paint and prepared the surface to host the decals. The grey and red band on the nose was painted using the decal as a reference for both colour and shape.
 |
| The kit's nose before panel line enhancement |
|---|
The decals went on with no problem, maybe they are a little on the thick side but nothing I could not live with. An additional little effort could have been made to trim the excess film from the big serial number on the wing, I just forgot to do it. Next Liner! A little suggestion: never use Micro Set over Future on white surfaces: the liquid solution contains something (ammonia?) that damages the clear acryilic coating and - maybe in conjunction with the decal's glue - the final result is a yellowed white. You are warned.
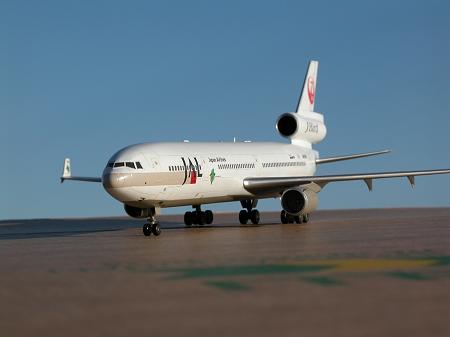
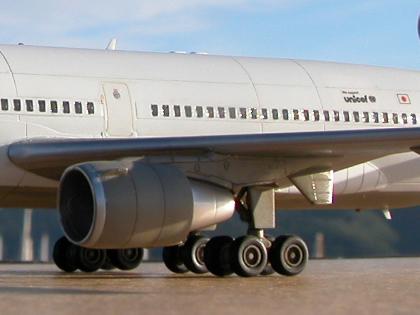
With de decals on and another couple of Future coats it was time to paint the bare metal leading edges. Careful masking was the key to a successful process. As can be seen from the image below, I tried to reproduce two different metallic shades on the wings' undersurfaces.
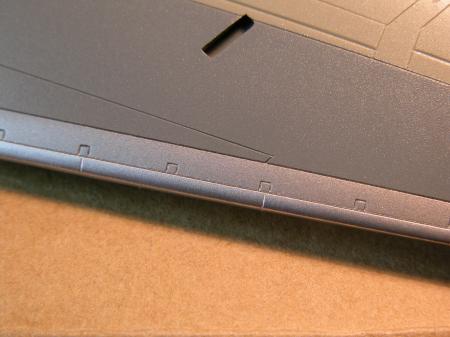 |
Wing bottom: note the two metal shades |
|---|
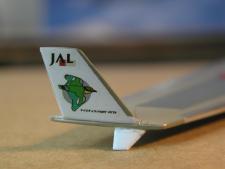 |
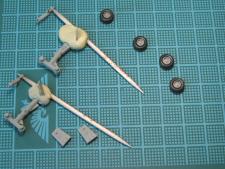 |
| Detail of the winglets and main landing gear during construction | |
|---|---|
The windows were painted medium grey then, once dry, received a drop of Micro Cristal Clear. All the model's panel lines were washed with a light grey enamel. with a darker shade on the control surfaces.
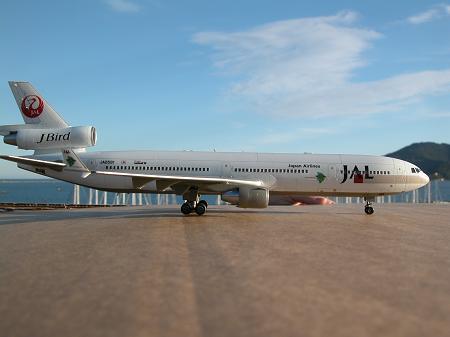
I wish to thank my friend Massimo Ginesi for the kind help with the pictures.