|
Espositore (Exposer) by k123q |
|
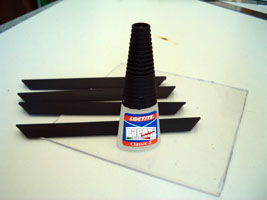
I materiali
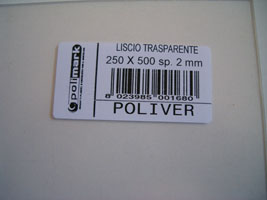
utilizzati per l'espositore sono: due lastre in poliver da 250x500x2
mm (1,50 €/cad.), due angolari di plasica da 10x10x1 da un metro
(1,50 €) e della colla (loctite).
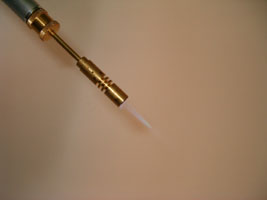
Gli attrezzi utilizzati sono un microsaldatore a gas
(5 €), un
seghetto ad arco, un miniutensile elettrico (15 €), delle pinzette
stringenti, una penna indelebile, un righello.
The materials used to build the
exposer are the following: two Poliver sheets dimensions 10"x20"x1"
(price 1,50€/cad.), two plastic angles 1/2"x1/2"x0.04" 3 feet long
(1,50 €) and some glue (Loctite like).
Toos neede are a gas microwelder (5 €), an arc saw, an electric
minitool (15 €), some clamping pinces, an undeleable marker, a ruler.
|
|
 |
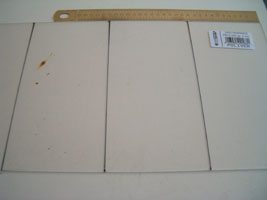
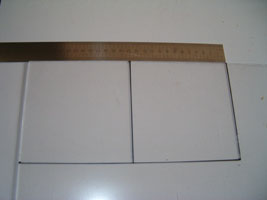
Il primo passaggio consiste nel disegnare
tre righe in modo da dividere in
quattro parti da 12,5 cm la lastra di poliver.
(il
poliver è ricoperto da una pellicola protettiva che va tolta alla
fine) |
First step is to draw three lines to
divide in four parts of 1/2" the Poliver sheet.
(The Poliver is coated with a protective film that must be removed
at the end) |
|
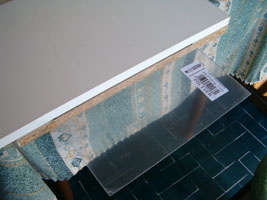 |
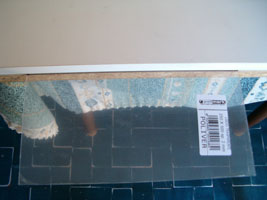
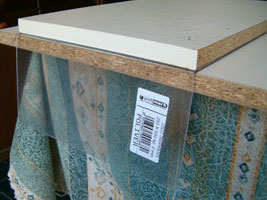
Successivamente bisogna posizionare la lastra di poliver tra due pannelli di legno in modo da far coincidere la riga
disegnata con il bordo |
|
Next step is to position the
Poliver sheet between two wood panels to align the drawn line with
the border |
|
 |
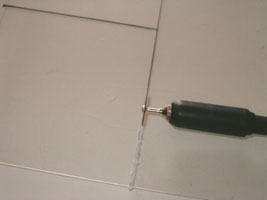
questa è la parte più "divertente"
|
|
this is the most "entertainement"
part |
|
 |
far scorrere velocemente (piu volte) il microsaldatore lungo il bordo fino a quando la lastra si piegherà con il
suo stesso peso.
Ripetere per i restanti lati
|
make the microwelder run along the
border (much times) until the sheet will bend under its own weight.
Ripetere per i restanti lati |
|
 |
Ora passiamo al "Coperchio e
alla Base"
disegniamo e poi tagliamo con il miniutensile un
quadrato da 13 cm per lato. |
Now move to "Top Cover and Base"
let's draw a square of about 1/2" each side then cut it with the
minitool. |
|
 |
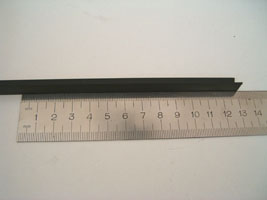
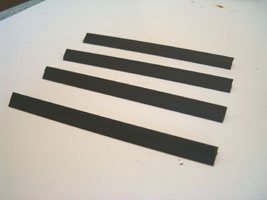
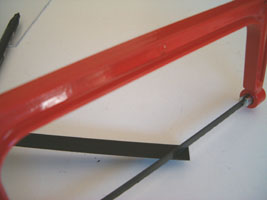
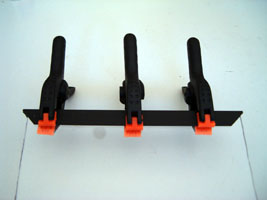
Tagliamo quattro elementi da 13 cm
dall'angolo di plastica. |
|
Cut four parts of 1/2" lenght from
the plastic angular. |
|
 |
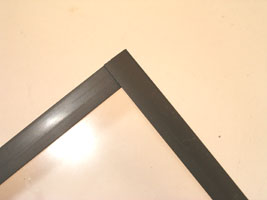
Aiutandoci con la base
di poliver tagliata in precedenza sovrapponiamo due angoli di
plastica come in figura |
|
Using the Poliver base previously
cuted overlap two plastic angulars as shown in figure |
|
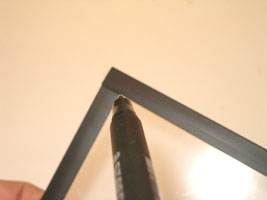 |
segniamo il punto di incrocio e tagliamo la parte
che non ci occorre. |
|
Mark the cross-point and cut the
part we do not need. |
|
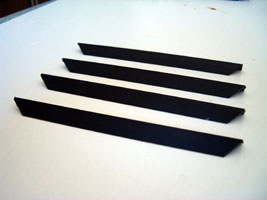 |
A questo punto abbiamo il necessario per i
"coperchi"
|
|
At this point we have all the
necessary for the "Top Cover" |
|
 |
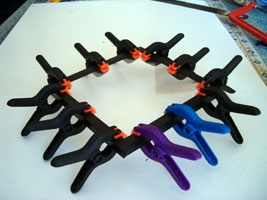
incolliamo i quattro angoli sui lati del poliver
facendoli mantenere ben saldi con la pinzette
Con
la stessa procedura ne realizziamo un'altro identico per la base. |
Glue the four anglulars to the
Poliver sides using the pinces to keep them together.
Do the same to assembly the base. |
|
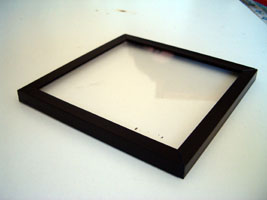 |
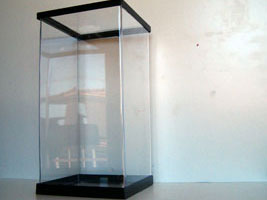
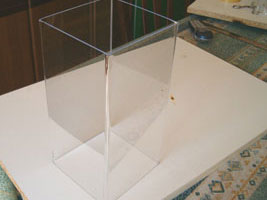
L'espositore è pronto.
Sul fondo ho aggiunto un piccolo "podietto" (non
presente in foto)
di cartoncino nero alto 3 per sollevare il papermodel da fondo.
|
The exposer is ready.
I added a small black cardstock "stage" on the bottom (not shwon in
the pics) about .15" high to raise the Papermodel from the bottom. |