Holograms on Homemade Holographic Plates are made on a Holografic Table equipped with a 20mW@633nm JDS HeNe Laser. For other experiments at different waveleghts, I use a 100mW @532nm Coherent C-315 and homemade 100mJ @694nm Ruby Laser; unfortunately said Laser has a very limted coherence lenght so only Reflection Holograms of coins can be made with it.
holographic configurations
I mainly use the following two configurations:
- Dual or Multi Beam Laser Transmission
- Single Beam (Denisyuk) White Light Reflection
Both configurations allow to make test Holograms
in order to estimate Efficiency and/or making good quality
display Holograms.
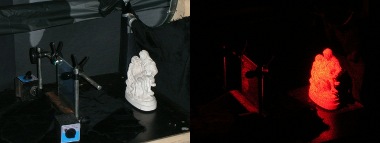
Since Spatial Frequency requirements of White Light Reflection Holograms are much higher than Transmission Holograms, the test with the Denisyuk configuration is a good testing ground for Homemade Holographic Plates amd, generally speaking for all Holographic Materials.
The holographic table
As it is well known, good holograms need a very stable Holographic Bench. Mine is small but very effective expecially for making Single Beam Holograms. A good Holographic Bench acts as a low pass filter cutting all the frequencies which might cause vibrations inducing movements of the optical parts or the object.
With my table I made holograms on Dichromated
Emulsions exposing the plate for 25 minutes (1500 seconds).
Obviosly said hologram can be made only if the whole system is
ultrastable, for example all optics and components must be glued
one to each other, the plate must be horizontally oriented and
so on. Other care must be taken such as laser stability,
temperature and humidity fluctuations etc. should be
considered if working with so long exposure times
The laser(s)
At present most of experiments were made on Homemade Holographic Plates sensitized @633nm, hence a Helium Neon Laser to make this job. Laser must be Single Londitudinal Mode, polarized at least 100:1 or above, minimum power should be at least 10mW. Be careful not be confused with the power printed on the warning lable sticked on the eclosure , that isn't the actual output power but the theoretical power the laser could emit in case of failure.
Another Laser I'm using for plates sensitized in the green region, is a Coherent C315-100; the most interesting feature of this device is the Coherent Lenght, I measured over 7 meter without any notice of degrade. Somewhere I read the its corerence is over 15 meters. Last but not least, the Coherent C315-xx series is absolutely mode-hopping free.
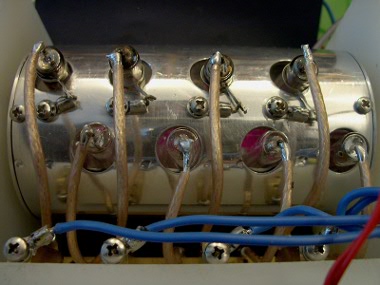
Lastly I whould spend a few words about the Ruby Laser I use to expose experimental plates sensitized @694nm. This laser was built years ago starting from a bare Ruby Rod with one end coated with Hi-Reflection coating and the other one with a semi-reflective coating which acts as a Output Coupler.
The rod is optically pumped by four 250J/sec xenon helical lamps fed by four capacitors banks charged up to 1500V. A L-C Pulse Forming Network provides a rapid and complete discharge of the energy stored in the capacitors avoiding unsafe current peacks which maight cause damages to the flashlamps
The beam quality of a such laser is very poor, multimode, pulse lenght about 300us, absence of etalon and brewster window. Surprisedly I found this Laser suitable for making holograms of coins although brightness of the final image is quite low.
DARK ROOM
Holograms could be processed in standard
commercial photographic products but only using specific
formulated developers and bleaches for Homemade Holographic
Plates it will possible to get the maximum Diffraction
Efficiency and lowest grain growth.
.
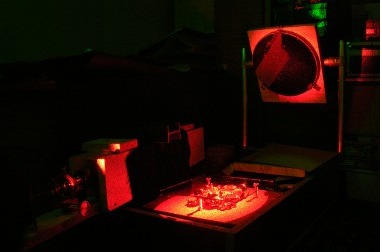
Setup for Dual Beam Laser Transmission Hologram
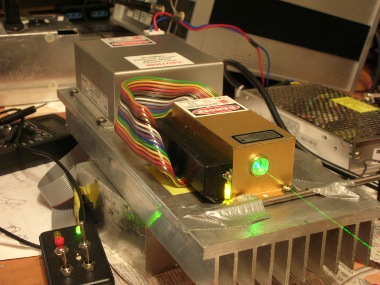
Coherent C-315 100mW Laser during very first tests right after its purchase on Ebay
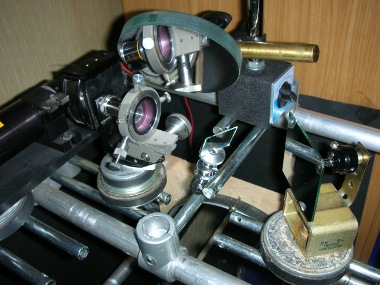
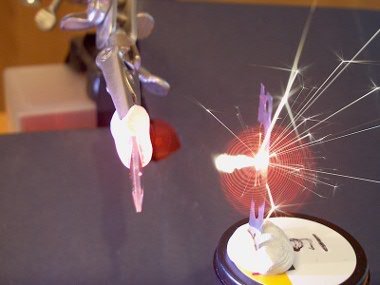
Optics used to split/expand the Laser beam
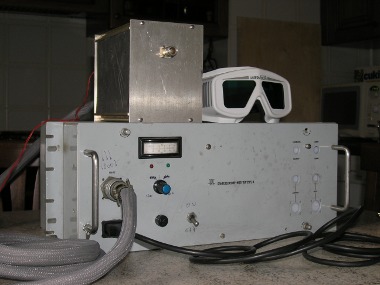
Handmade Ruby Laser and safety goggles